 Ride maps
Ride Map Designer · Guide
How to make a ride map
Pick a ride, choose your print, colour it, add to the map, finish the back, download. Six steps, top to bottom.
Getting started
- The steps are on the left, the 3D preview on the right (below on a phone). Every change rebuilds the preview in a few seconds; trees and water follow a little later.
- Six steps, one open at a time: tap a step's heading to open it; the others fold to a line saying what's chosen, ticked once you've passed them. Next at the end of each step moves you on. Inside a step, the settings most people leave alone fold away too, each showing its value.
- Your design saves in this browser as you go.
1 Ride or place
Start from a ride on the list, a GPX file of your own, or a place.
- Pick a ride from the list (the rides on the adventure map), or upload a GPX. An upload stays in your browser; Hide start and end trims each end so a ride from home doesn't show the house.
- Add another ride for a trip over several days: each ride's trail goes on the same map, in one colour or a colour each (step 3, Colours).
- A place (no ride): search for a town, road, lake or peak and press Enter, paste coordinates or a Google or Apple Maps link, or Use my location. Pick the marker that sits at the place (a cabin, a house, a pin…). The map is centred on it, 10 km across on an 8 in hexagon to start (step 2 sets the area, 1 to 30 km). Its text is its name, the area, the coordinates and the height there; the date is optional. A US street address (310 Main St, Town, WA) is placed along its street, close but not exact; where it isn't found, the street is. Check the marker and drag it onto your spot in step 4, or paste the coordinates for the exact spot.
2 Your print
The big choices, first: they decide what you're printing.
- Layout: One map puts the whole ride on one print. Honeycomb spreads it over small hex tiles (below).
- Shape and size (one map): hexagon, circle or square, 2.5 to 8 in across. Hexagons and squares can join on a wall; circles can't.
- Colours on the map: 1 to 4, one per AMS slot. Each number starts with a sensible set (2: terrain and trail; 3: and water; 4: and trees), and anything printed separately frees its slot for the next in line: high ground, then snow.
- Border: a frame with the ride's name, date, miles and climb raised on it, or a shell the map nests into. On a honeycomb, a band round all the tiles, cut to fit your bed. Each is its own print.
- Print separately: the trail, rivers and lakes, the compass rose or the markers' key, each in its own colour, to press into a recess. A line underneath says what you'll print: "3 prints: the map in 4 colours, a trail piece and a frame".
The honeycomb
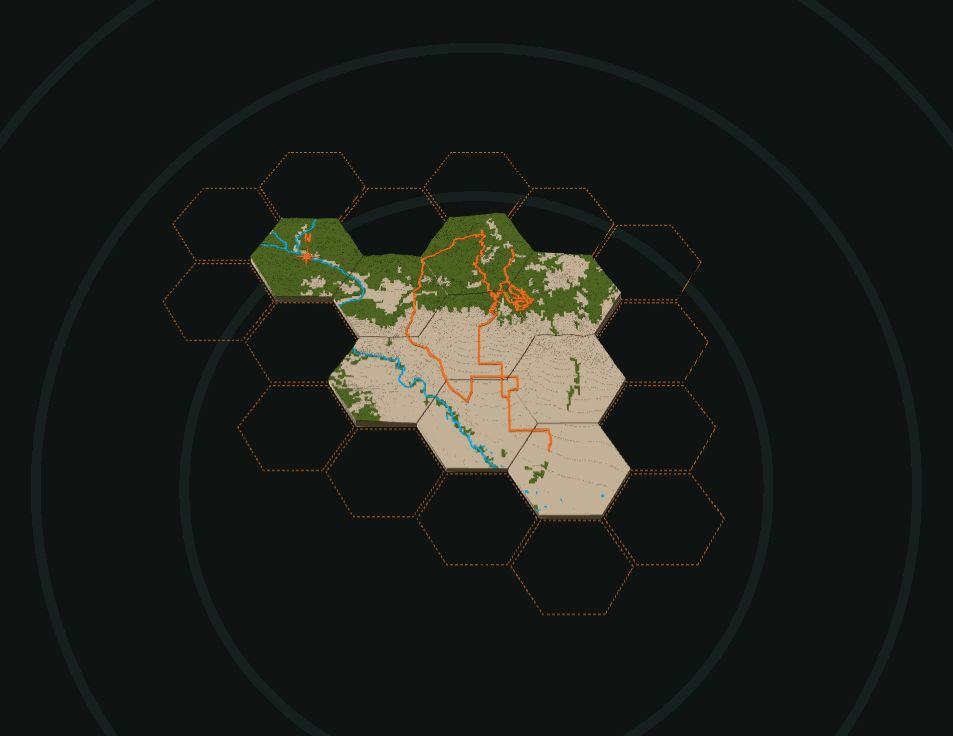
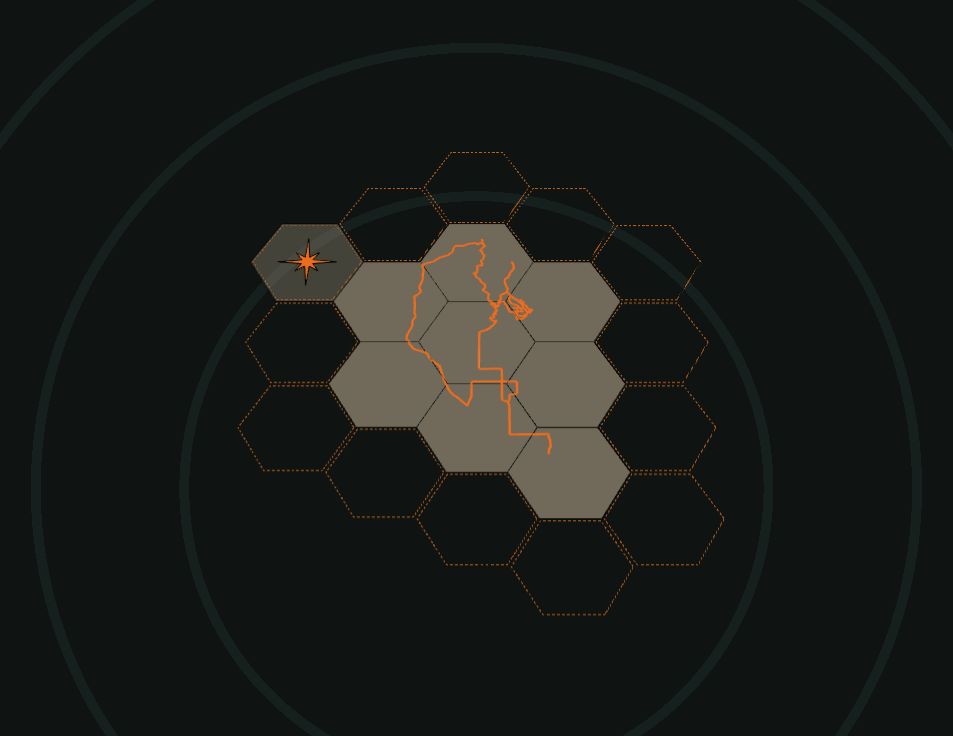
- Tile size (2 to 6 in) and Route length (how many tiles long the ride is) set the scale. The tiles go where the trail runs.
- Add a tile: click (or tap) a dashed hex; it lights up under the mouse. Take one off: right-click it, or long-press it on a phone.
- Fit the trail to the tiles opens a light, flat view where the tiles stay put and the map moves under them:
- drag to slide the map; pinch, scroll or use Zoom to scale it (the arrow keys and + − work too);
- Best fit slides it to keep the trail off the tiles' corners and edges, where it would be cut into slivers;
- add and take off tiles here too;
- drag the compass rose onto a tile, or onto an empty hex beside one for a tile of its own, and set its size;
- Done keeps it all and rebuilds; Cancel puts everything back.
- Print as: a print per tile, or bed-size pieces (neighbouring tiles printed together, as big as your bed allows). Pick your printer bed: 180 mm (A1 mini), 256 mm (X1, P1, A1), 350 mm (H2D).
- Every tile has bowtie pockets on the edges it shares, its position (A1, B2…) engraved on the back, and keyholes on the top tiles at the far left and right.
3 Colours
- The parts: pick a filament for the terrain and the trail, and turn on trees, water, high ground or snow. Parts can share a colour. Creeks sets how many small streams show; widths and patch sizes fold away under each part.
- The border's colours show here too when it's on: the frame and its text, or the shell. Tick Accent to print the lines under the name in a second colour. On a honeycomb the ride info stands on the border's top and bottom edges, a line to an edge; a line too long for any edge is left off and the page says which (shorten it, or widen the border under Sizes).
4 On the map
- Markers: town, peak and lake names from OpenStreetMap (5 by default, the most important first, each kept clear of the trail and the edge), and your own: a house, cabin, tent, pin or photo point. Add one by GPS coordinates or a Google or Apple Maps link (in Google Maps, press and hold the spot and copy the numbers), or Place on the map and tap. Drag a ring to move a marker; rename or hide any name. Letters are 4 mm tall at least, so they print. A photo point gets a 26 mm round spot on the back for an NFC sticker.
- Key: each marker shape on the map with its word, placed like the compass (round the map, or on a hex of its own on a honeycomb); tick it under Print separately (step 2) to print it as its own piece.
- Compass rose: a star pointing north, set in like the trail. On one map it stays clear of the trail (or move it round with the slider); on a honeycomb, Place it opens Fit the trail in step 2.
- Surface: Contours (a flat step every 100 ft by default, like a contour model) or Smooth. Detail goes from smooth to craggy.
- Height: Auto raises the hills so a gentle ride still reads. Untick it to set the height yourself.
- Turn and position: turn the map in 15° steps; Move on the preview lets you drag the map under the outline. Reset puts it back.
5 Back and hanging
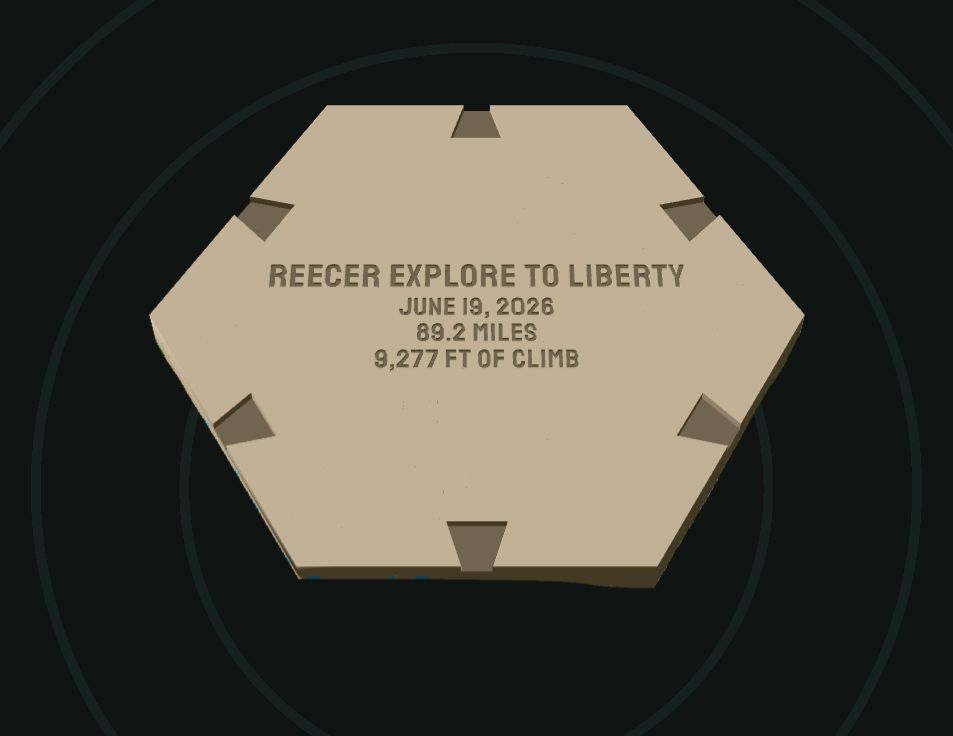
- Wall joints: a bowtie pocket 2 mm deep on each edge of the back, and keys in the files, so maps of the same size hang as one.
- Keyhole: on the back near the top, for a nail or screw with a head up to 9 mm.
- Ride info: the name, date, distance and climb, filled in from the ride; edit any line or clear it. Tick Engrave the ride info on the back to cut it in (a frame shows it raised too). Back on the preview turns it over.
6 Download
- The print estimate shows the filament, colour changes, purge and time first.
- Bambu 3MF: opens in Bambu Studio or OrcaSlicer with a plate per print, named: the map or each tile, the trail piece, the frame, the keys. The filaments are numbered for the AMS slots.
- STL: the map alone in one colour, the trail raised and the water lower, for any printer.
The 3D view
- Drag to turn it, scroll or pinch to zoom, double-click (or double-tap) to reset.
- Front / Back turns the map over. Exploded pulls the prints apart. Satellite drapes the aerial view over the map to compare (under ⋯ on a phone, with Reset view). in / mm in the top bar sets the units for every size on the page.
Printing and putting it together
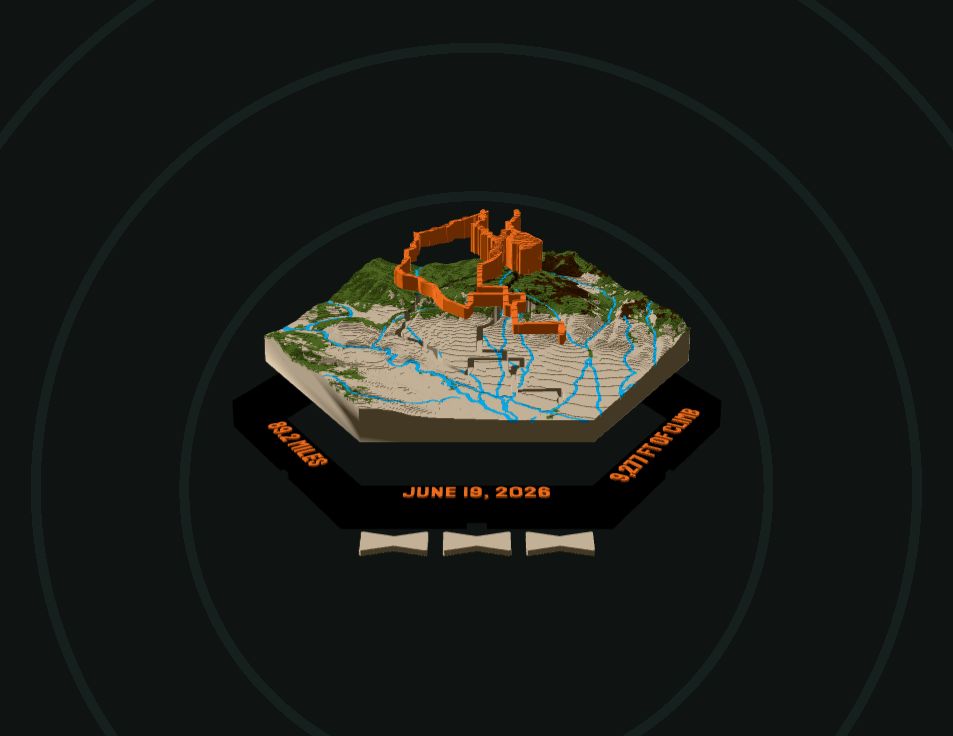
- PLA at 0.2 mm layers, flat side down, one plate at a time.
- Trail or water piece: press it into its recess (0.15 mm clearance a side). A drop of glue if it's loose.
- Frame, shell or honeycomb border: the map drops in from the front onto a ledge at the back; glue it. A honeycomb's border pieces lock together with a dovetail at each cut; slide each tab down into its socket, a drop of glue if it's loose.
- Bowtie keys: tap one into each pair of pockets where two maps or tiles meet.
Tips
- The trail runs off the map: press Move and drag it back, or make the map bigger. On a honeycomb, add a tile or use Fit the trail.
- Too many colour changes: pick fewer colours in step 2, share colours between parts, or print the trail on its own.
- A long ride: try the honeycomb, or add the days of a trip to one map.
- Questions or a ride that won't load: matt@quiverdesignworks.net.